|
|
| Re: Tut on Bump Mapping [message #328003 is a reply to message #327979] |
Sun, 27 April 2008 01:13   |
 |
 LR01
LR01
Messages: 842
Registered: April 2006
Location: The Netherlands
Karma: 0
|
Colonel |
|
|
Never found one, well I tryed some meself, if there is a tut, I really missed it
Moding can be real Fun...
|
|
|
|
|
|
|
|
|
|
| Re: Tut on Bump Mapping [message #328189 is a reply to message #327979] |
Mon, 28 April 2008 18:53 |
Blazea58
Messages: 408
Registered: May 2003
Karma: 0
|
Commander |
|
|
There is many different ways to bump map for renegade. If you were going for water it would be best with 2 passes so you can have the reflect also.
And if you want a decent effect without doing much, just hit M, use one pass like normally , get your texture in display, then change the shader type to edge and in the arg box type: UseReflect=True
and/or UPerSec= or VPerSec= if you wanted it to scroll a tiny bit.
Here i copied this from an old post i had, makes it easier so you dont gotta dig around for it.
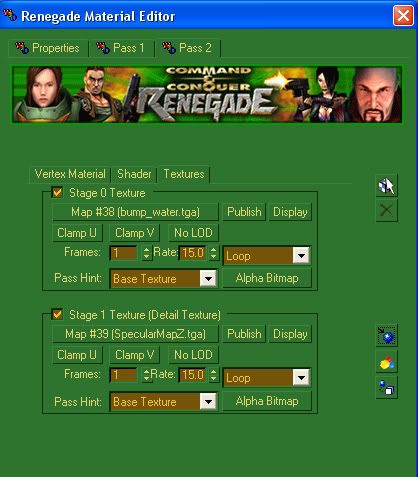
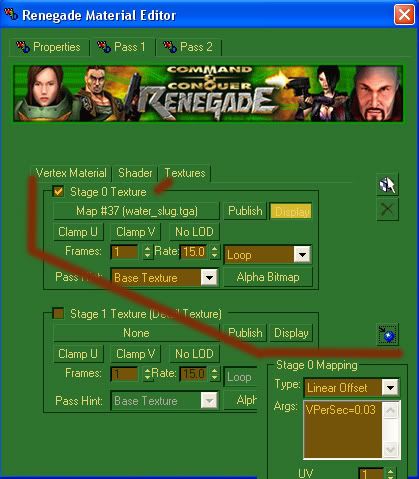
First you need these 3 textures
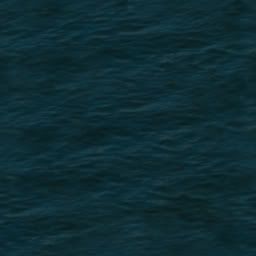
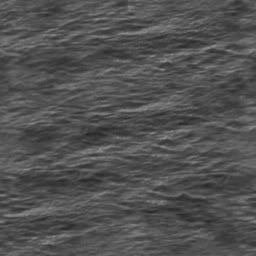
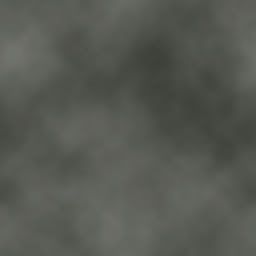
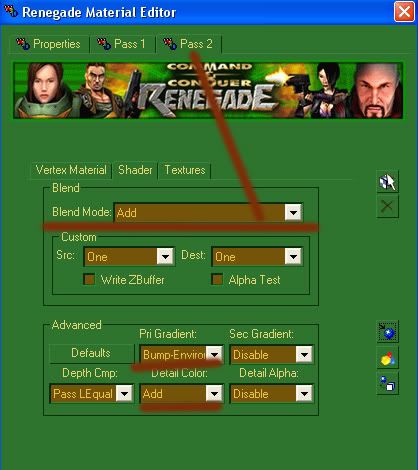
Then make a plane, Press M and setup 2 passes, do the 2nd pass changes first, then when done that apply the stage 1 texture and its settings.
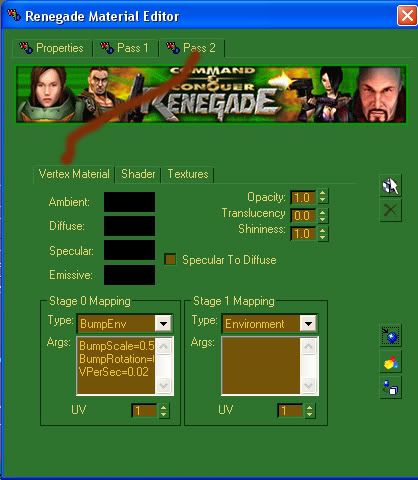
BumpRotation=0.3
Also if you have level edit i highly suggest you go into C:Program files/ Renegade Public Tools/ How to/ W3d tutorials/Content/Vertex Material. That will explain all the types of settings allowed within renx and ren.
[Updated on: Mon, 28 April 2008 18:54] Report message to a moderator |
|
|
|